Hello there, I am Khaleer, member of Niwl and environment artist.
We’re trying to show art and code tutorials as a thank you to our Patreon supporters. So here we are, I hope you will like it!
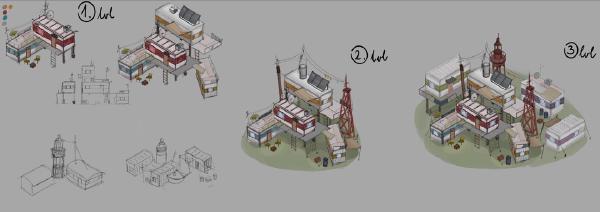
Starting out with an idea #
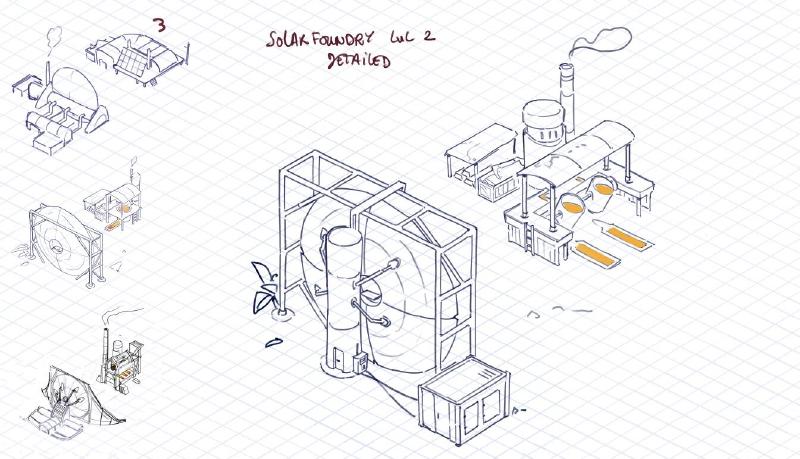
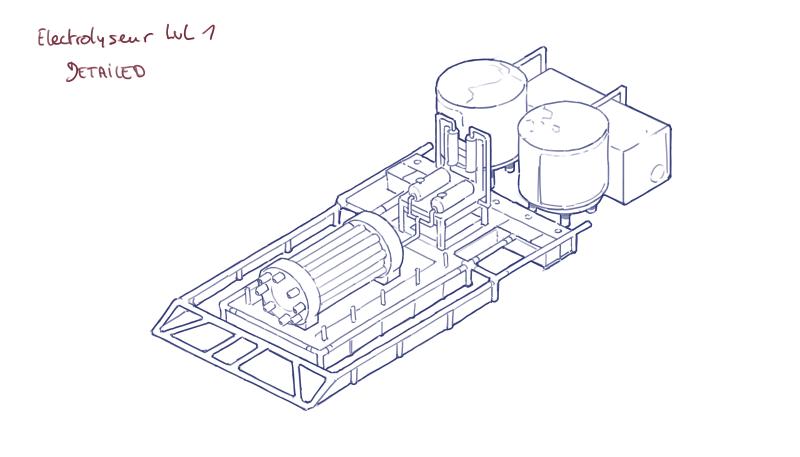
For me, the starting point for any 3D model is a good idea of what I want to do. Unfortunately, I am not one of those people who are good at brainstorming in 3D space or simply creating models without any help, so I rely heavily on ready-made concepts created by myself or others. The concept can be drawn line-art, as in the case of the Solar Foundry or Electrolyzer model, or it can be a reference photo taken by someone during a walk.
Beginning of the modeling. #
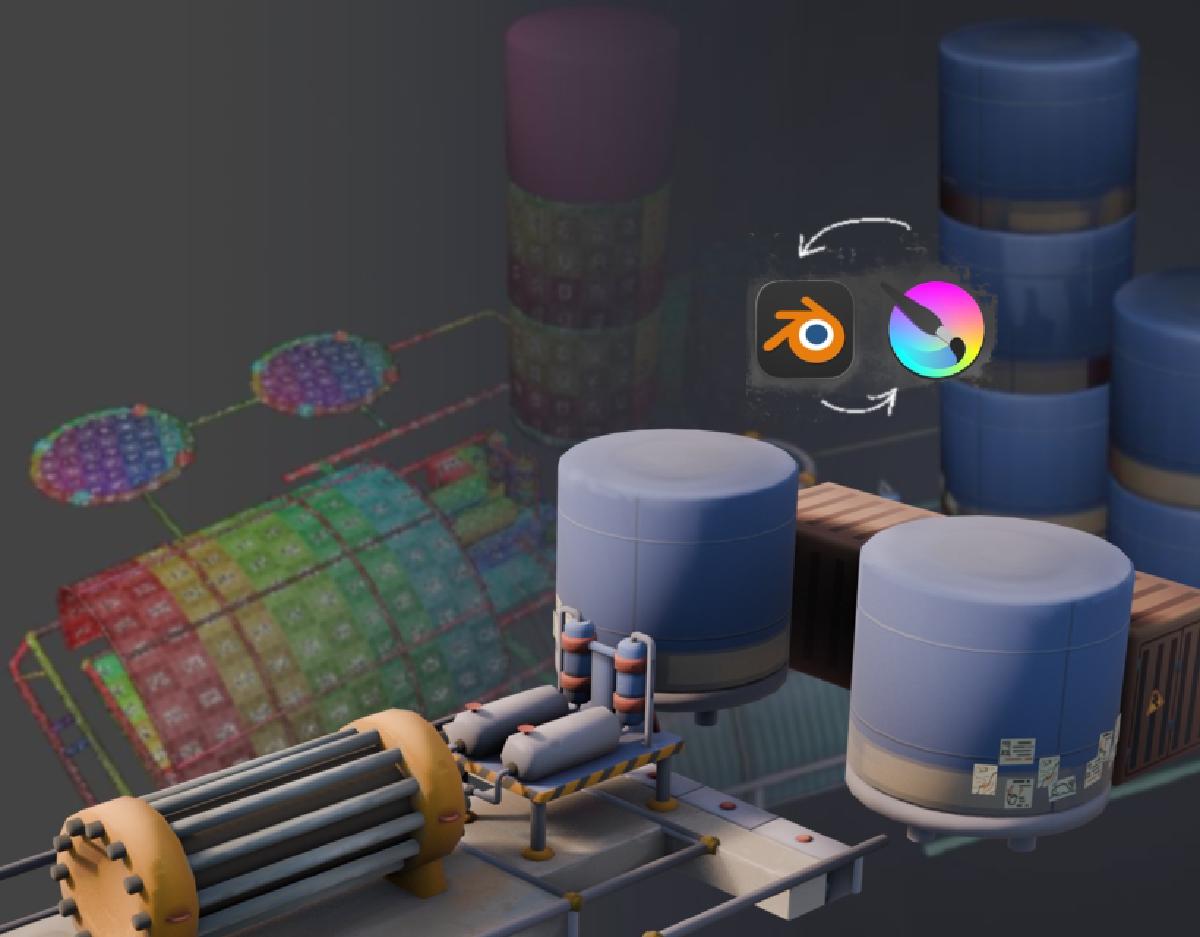
UV unwrapping and optimisation #
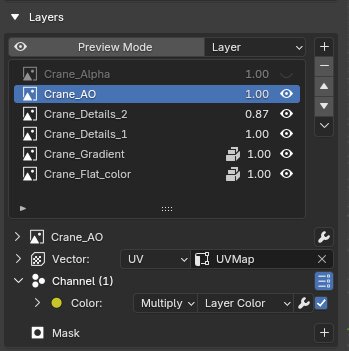
Not all parts of the model need to be modelled in the first stage. If the model has repeating parts, I prefer to create one (or use modifiers), but separate them into a special Blender collection to keep track of them. This part, if repeated, will have its modifiers (such as mirror or array) applied later, after baking, to save texture space. All this is done in the name of saving texture space. More than that, baking multiple objects that have overlapping UV coordinates can also cause many artefacts on the baked textures.
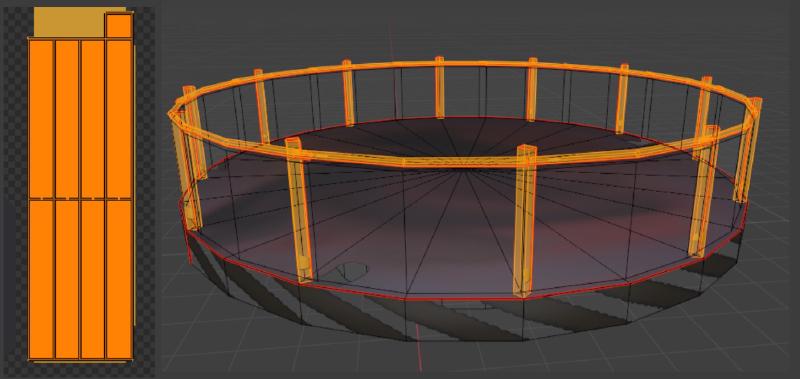
The moment you apply modifiers and start unpacking UVs is also a great time to think about removing parts of the mesh that will be invisible. For example, if a model has a concrete base, I doubt anyone will ever see the bottom surface of such structure, which would be buried deep underground. This part is not needed in the final model, and I am happy to remove it at this stage.
For UV unwrapping, because it is a monotonous process, I use add-ons that help me manage it faster. The first one is TexTools, which unfortunately is quite old and tends to crash from time to time, but it has a great ‘quick bake’ tool for Blender! The second is Mio3UV – which is basically a more stable, newer version of TexTools with its own unique character. Honora also likes using SimpleBake for this.
Texturing #
Blender’s feature that allows you to edit textures in an external program is also extremely useful. Not only is it helpful for editing flat textures, but it even allows preview-window based editing!
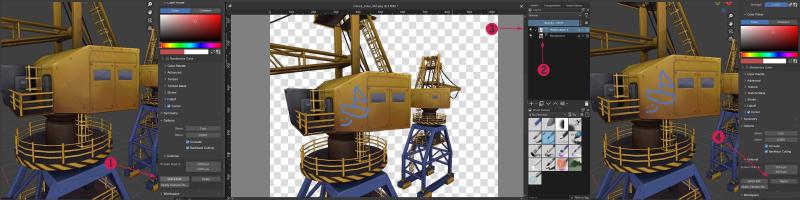
- Use the options to run quick editing based on viewport
- Your image will appear in application of your choice. Remember that the first layer is viewport, unless you want it to be part of later “effect” you should disable the visibility of it before exporting.
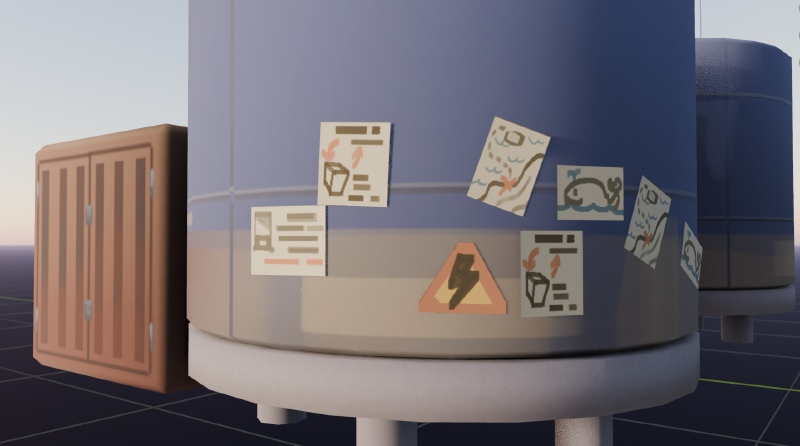
- This is the layer I make changes on, and which will be saved on transparent background.
- After you are happy with the effect and you saved your changes to the image, click Apply button.
Export #
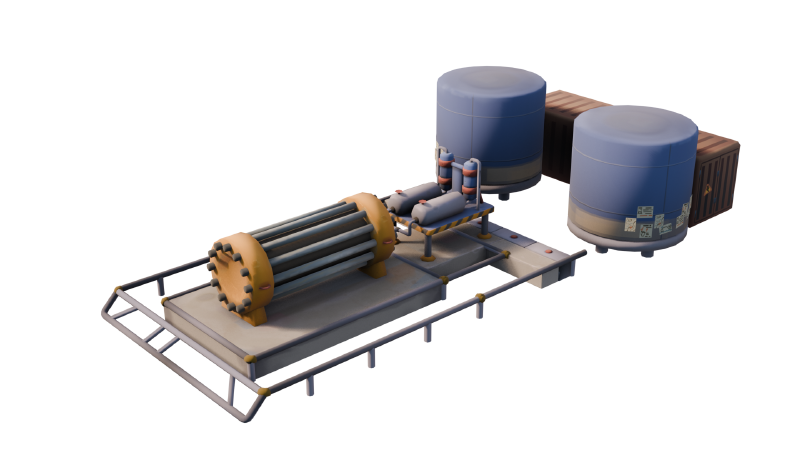
Once the textures are complete, I export them to glb format. This is the format that works best with Godot. Next, I check whether each texture works correctly as intended, fix inverted normals and incorrect model scaling, and do a bunch of other fun things to minimize headaches for other people in the team, who might ask questions like “why isn’t this model displaying correctly?”.
And after all this work, we got an little, happy, fresh model ready to be implemented to our project!
Hope you liked this tutorial, see you in the future.